
The interesting corner


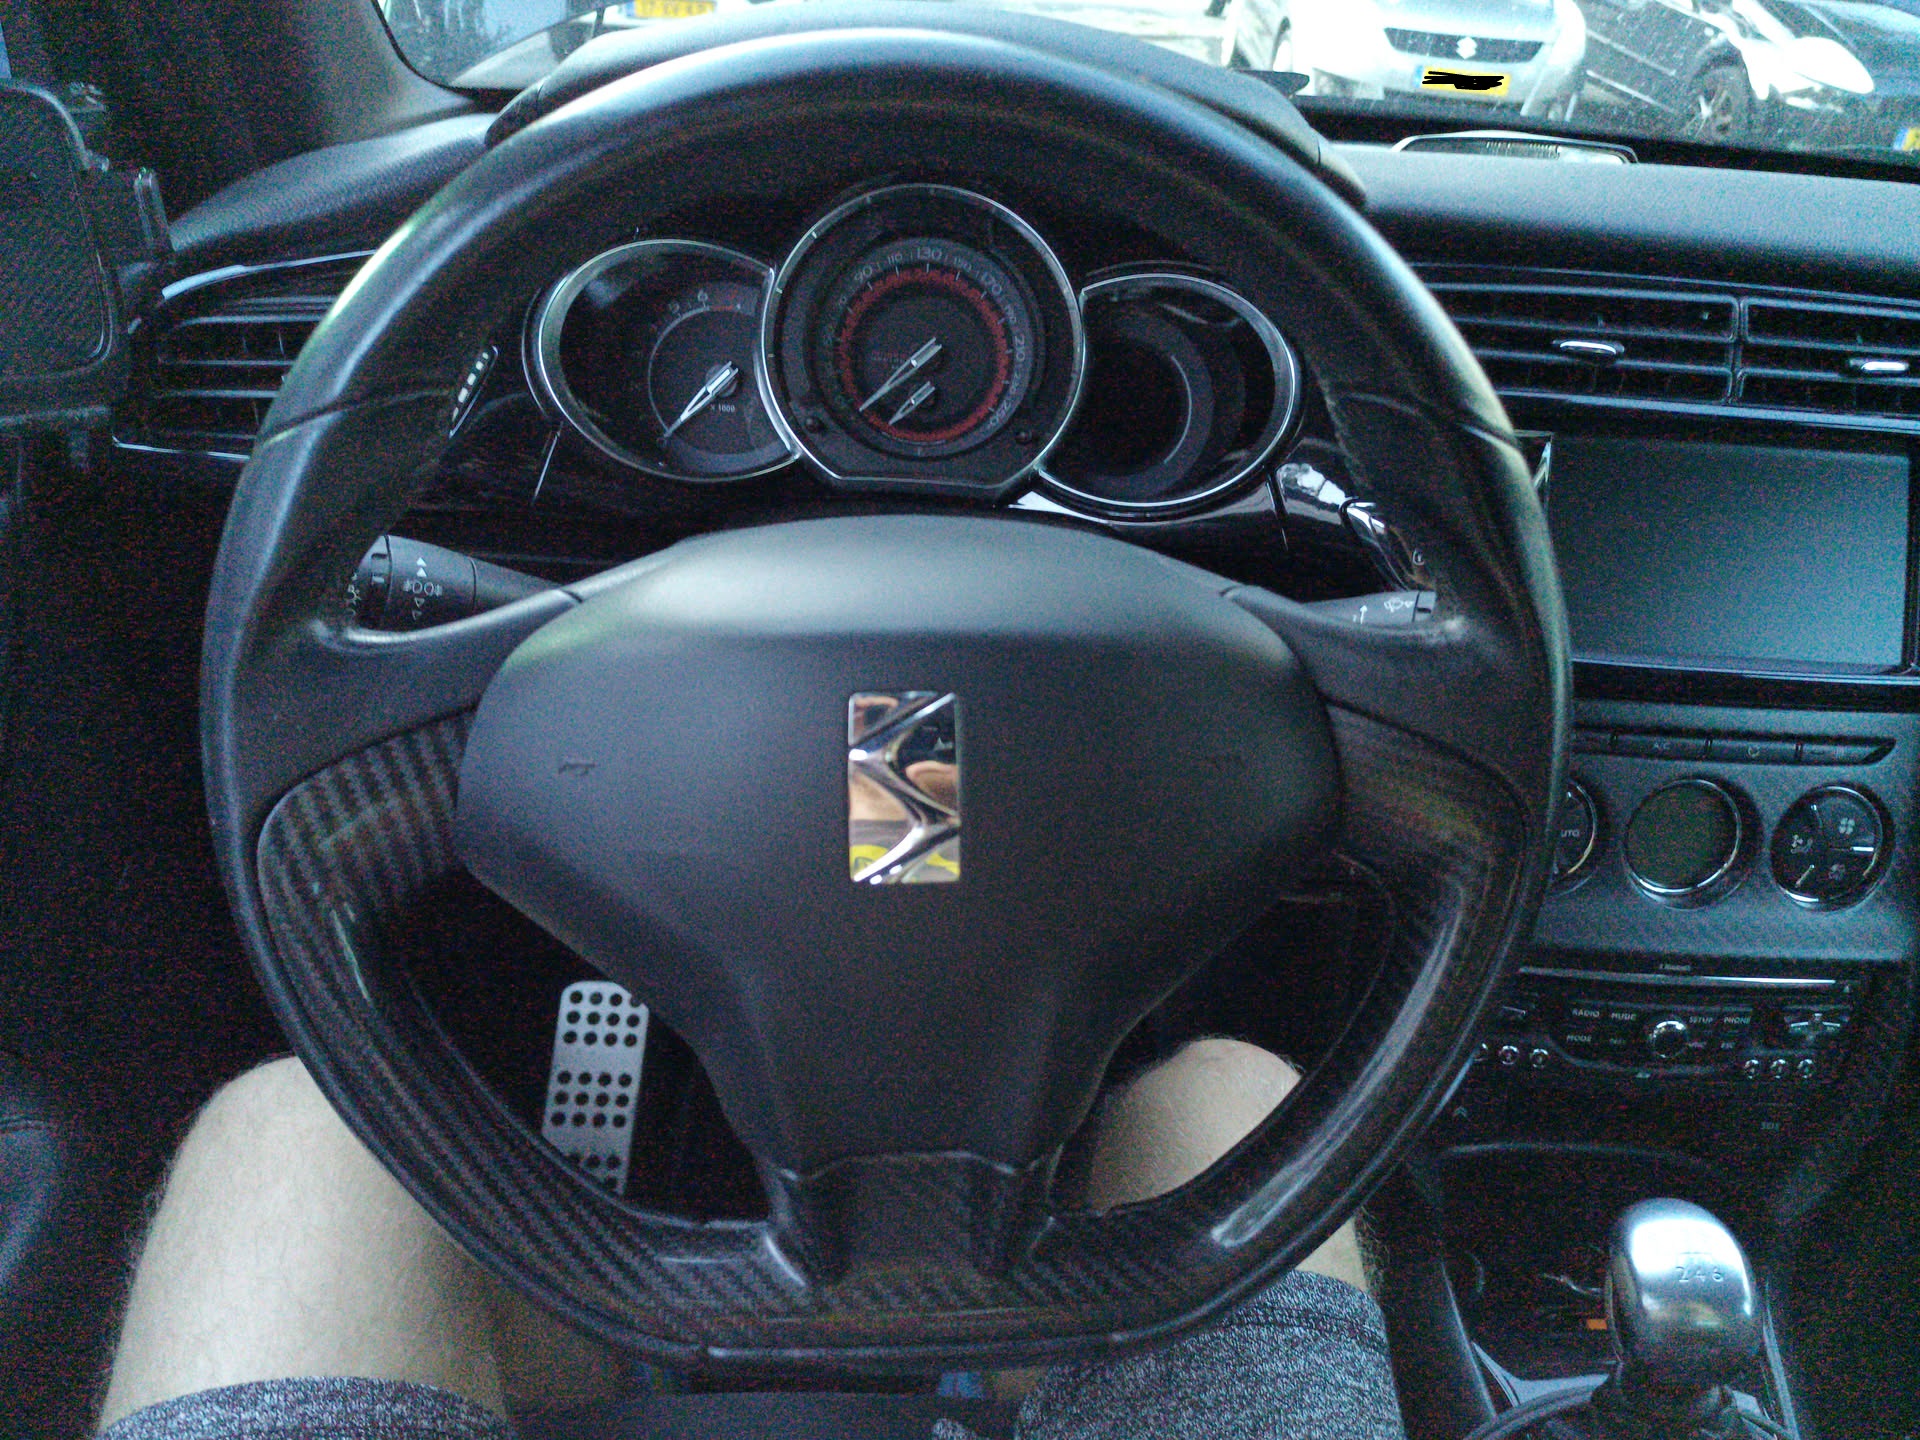
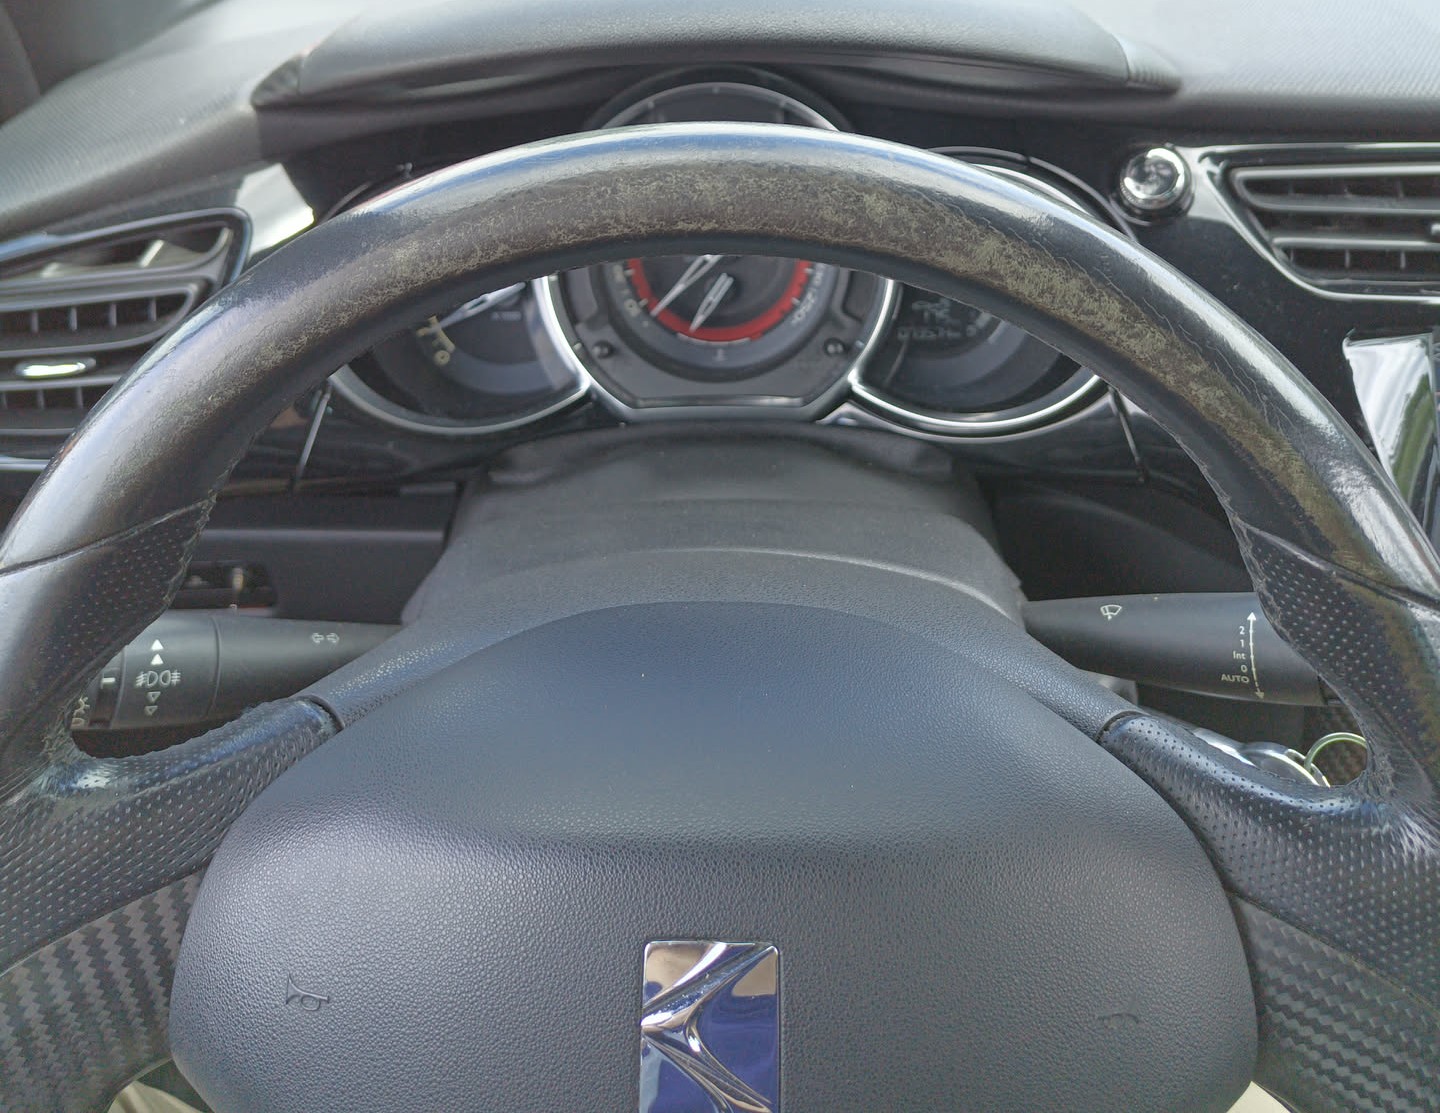
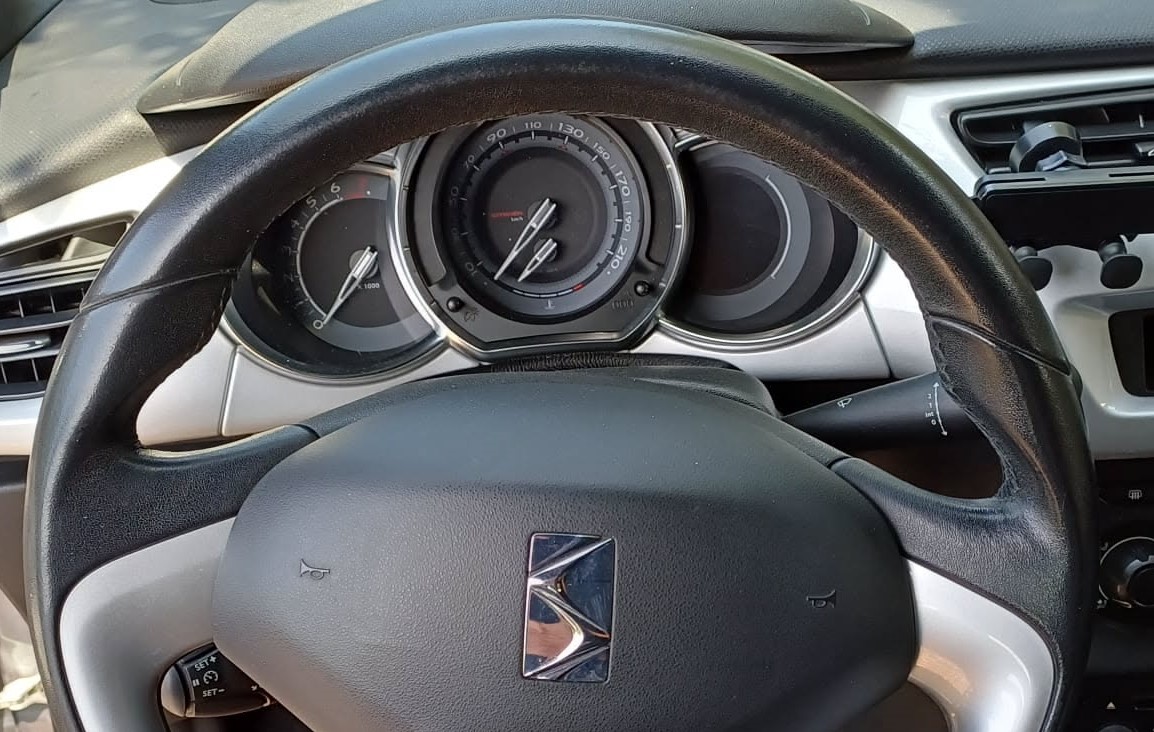
The steering wheel in my DS3 Racing looks like thrash. It has been exposed to the sun for quite some time probably, and the previous owner must have had a bad case of sweaty palms. The steering wheel in my other DS3 looks way better. I don't want to just replace the steering wheels (which is pretty easy), I also want to put the existing carbon fiber inset trim piece on the new steering wheel, as that thing costs around 400 euros :-O (and I think it looks cooler ;))
Below you can see the steering wheel in my DS3 Racing on the left, and the one in my old DS3 on the right.
The first step is taking off the steering wheel, and that begins by disconnecting the battery. After doing that, take off the airbag and remove the steering wheel (use this video to see how).
After having the steering wheel off, you can start with the inset. I didn't find anywhere online how to remove it. I sent an email to this website that sells the carbon fiber inset to ask if they could send the manual, but didn't got a reply. I eventually just figured I'd try my luck with it. Removing the trim was the hardest part, I eventually succeeded with no (visible) damage!
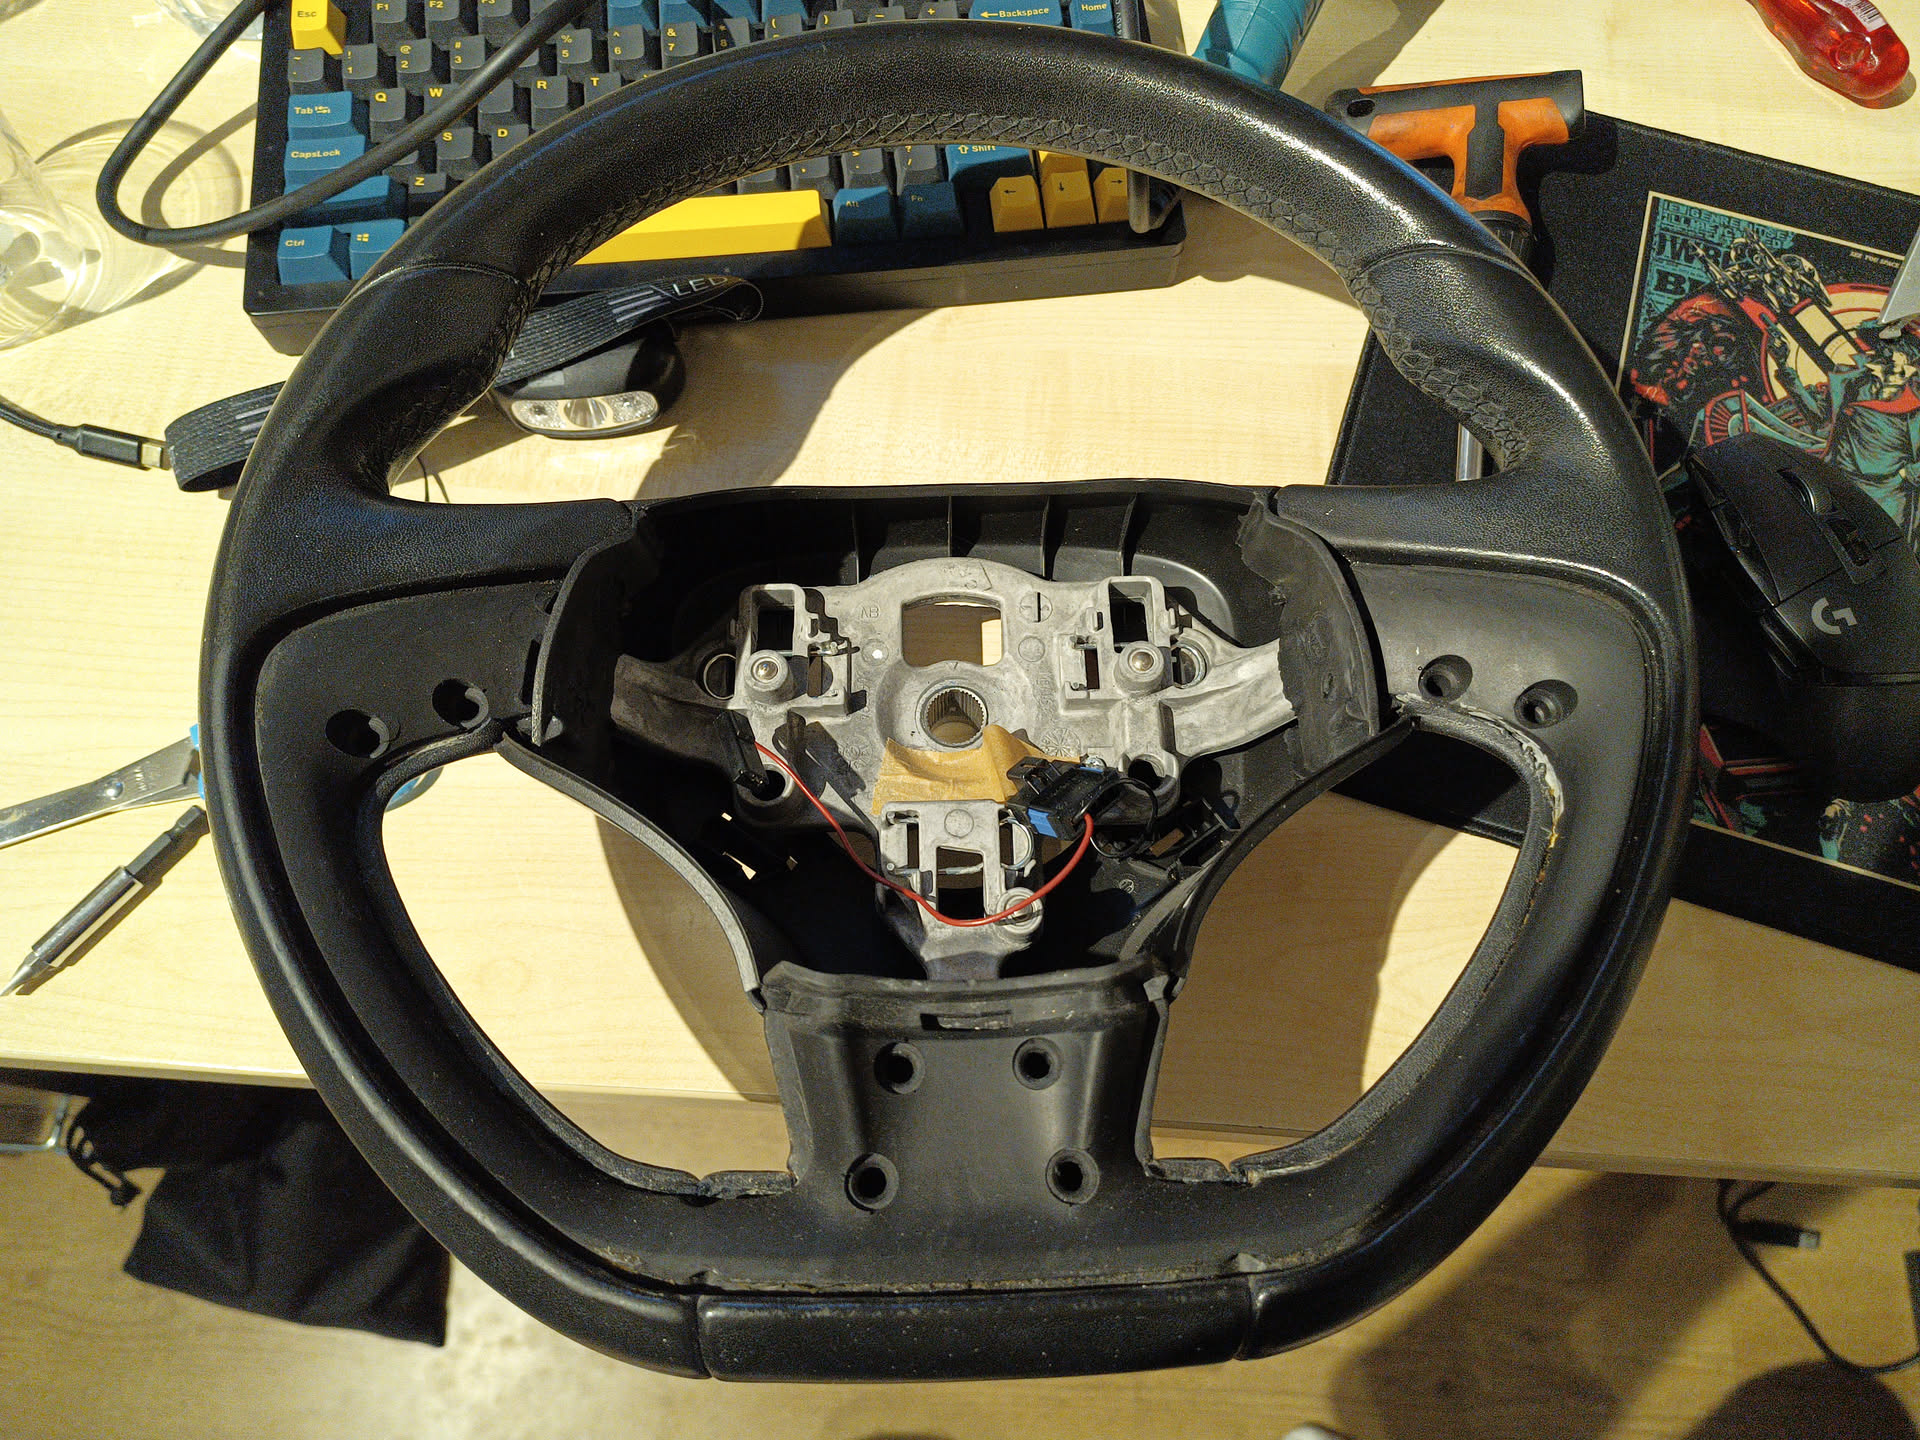
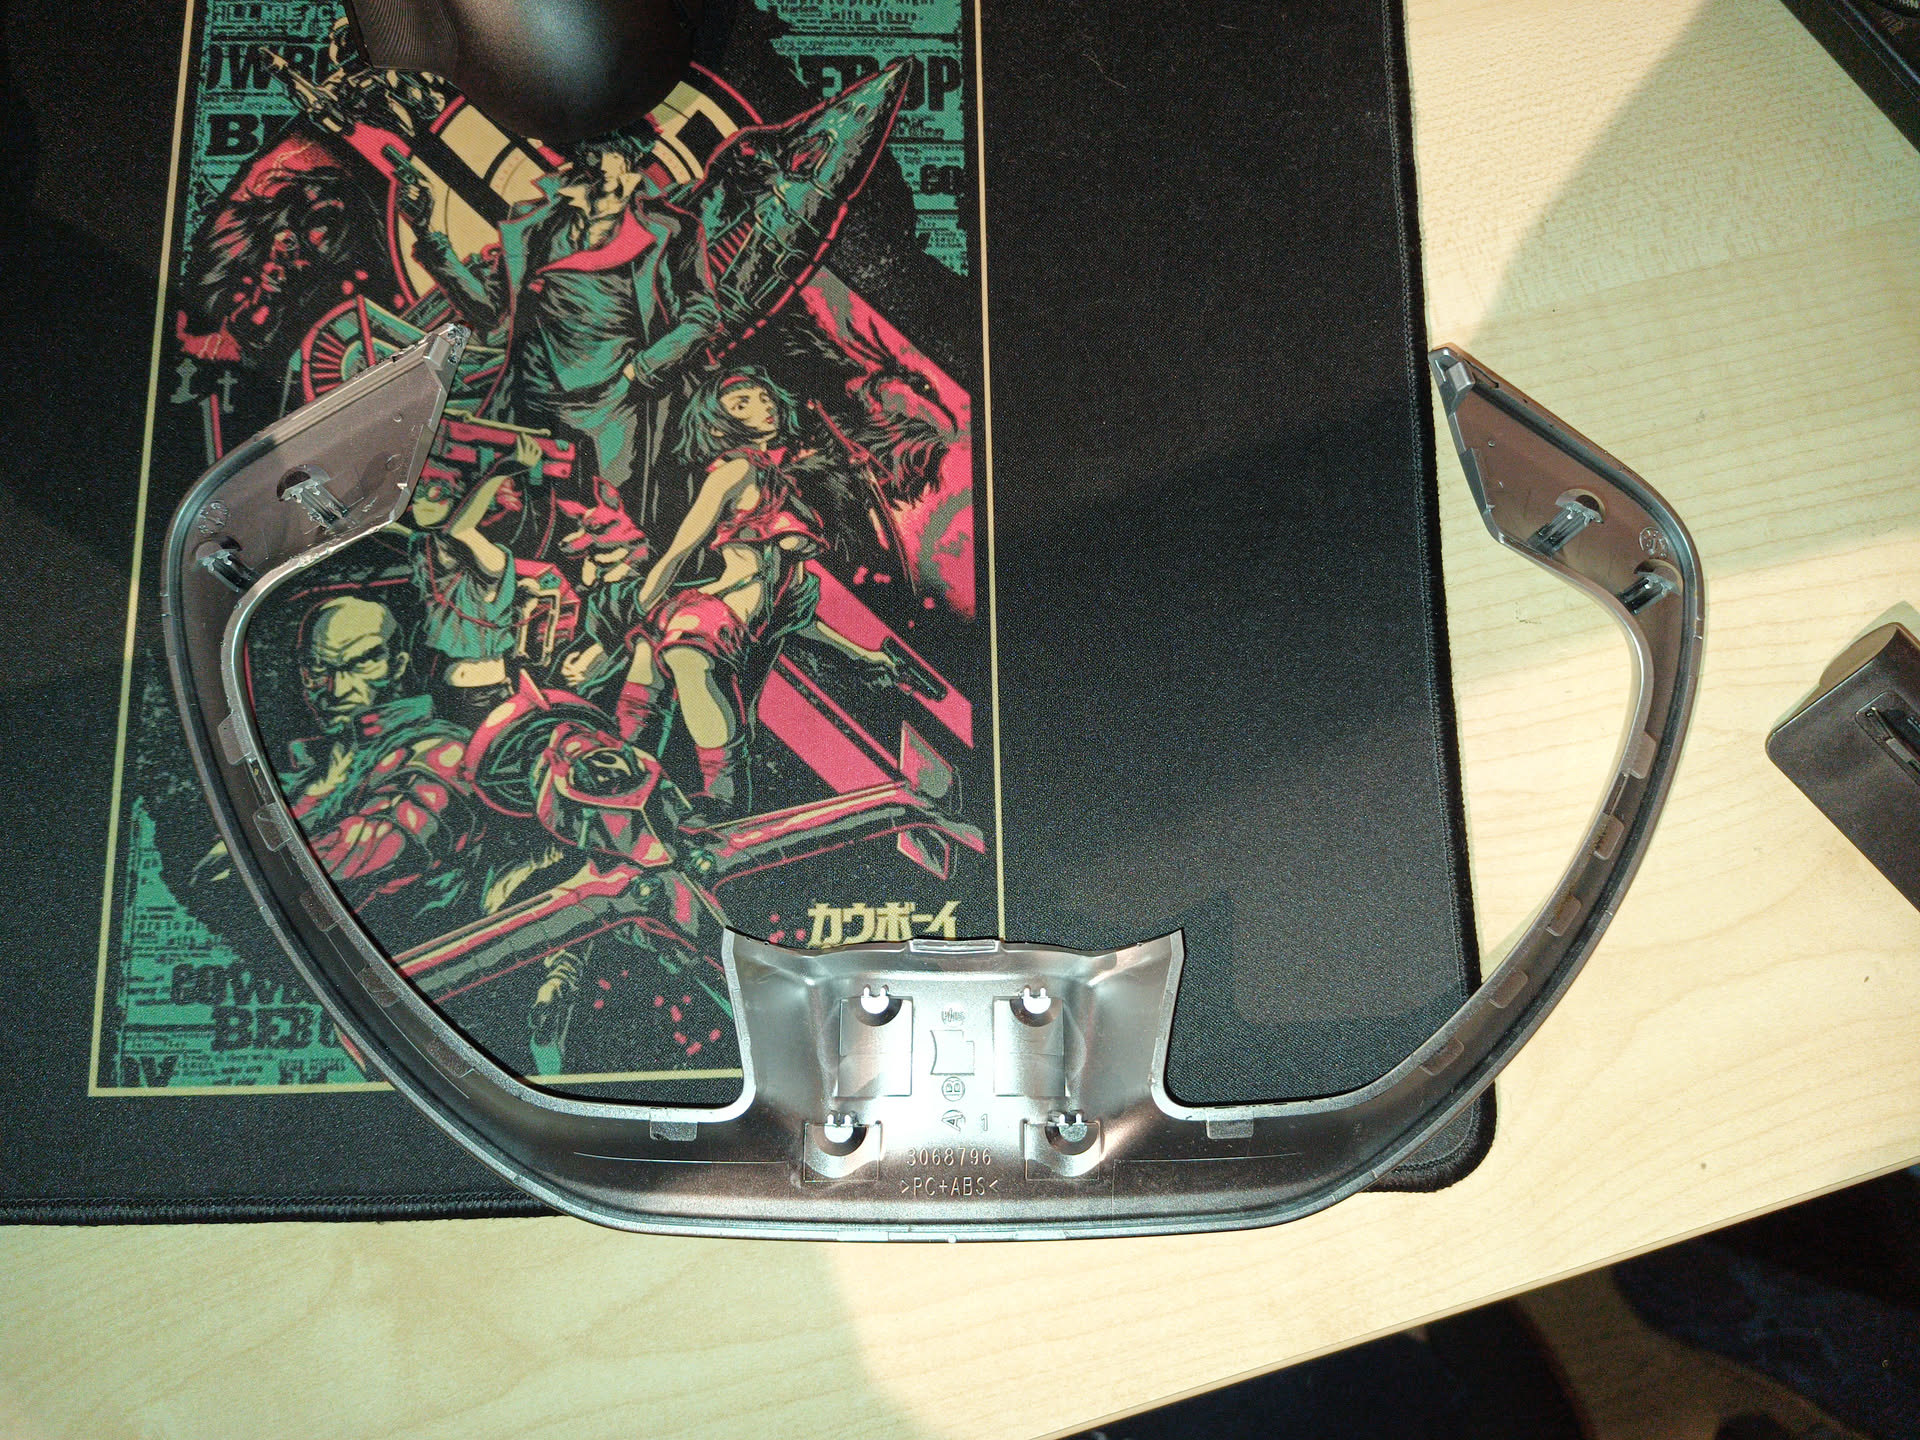
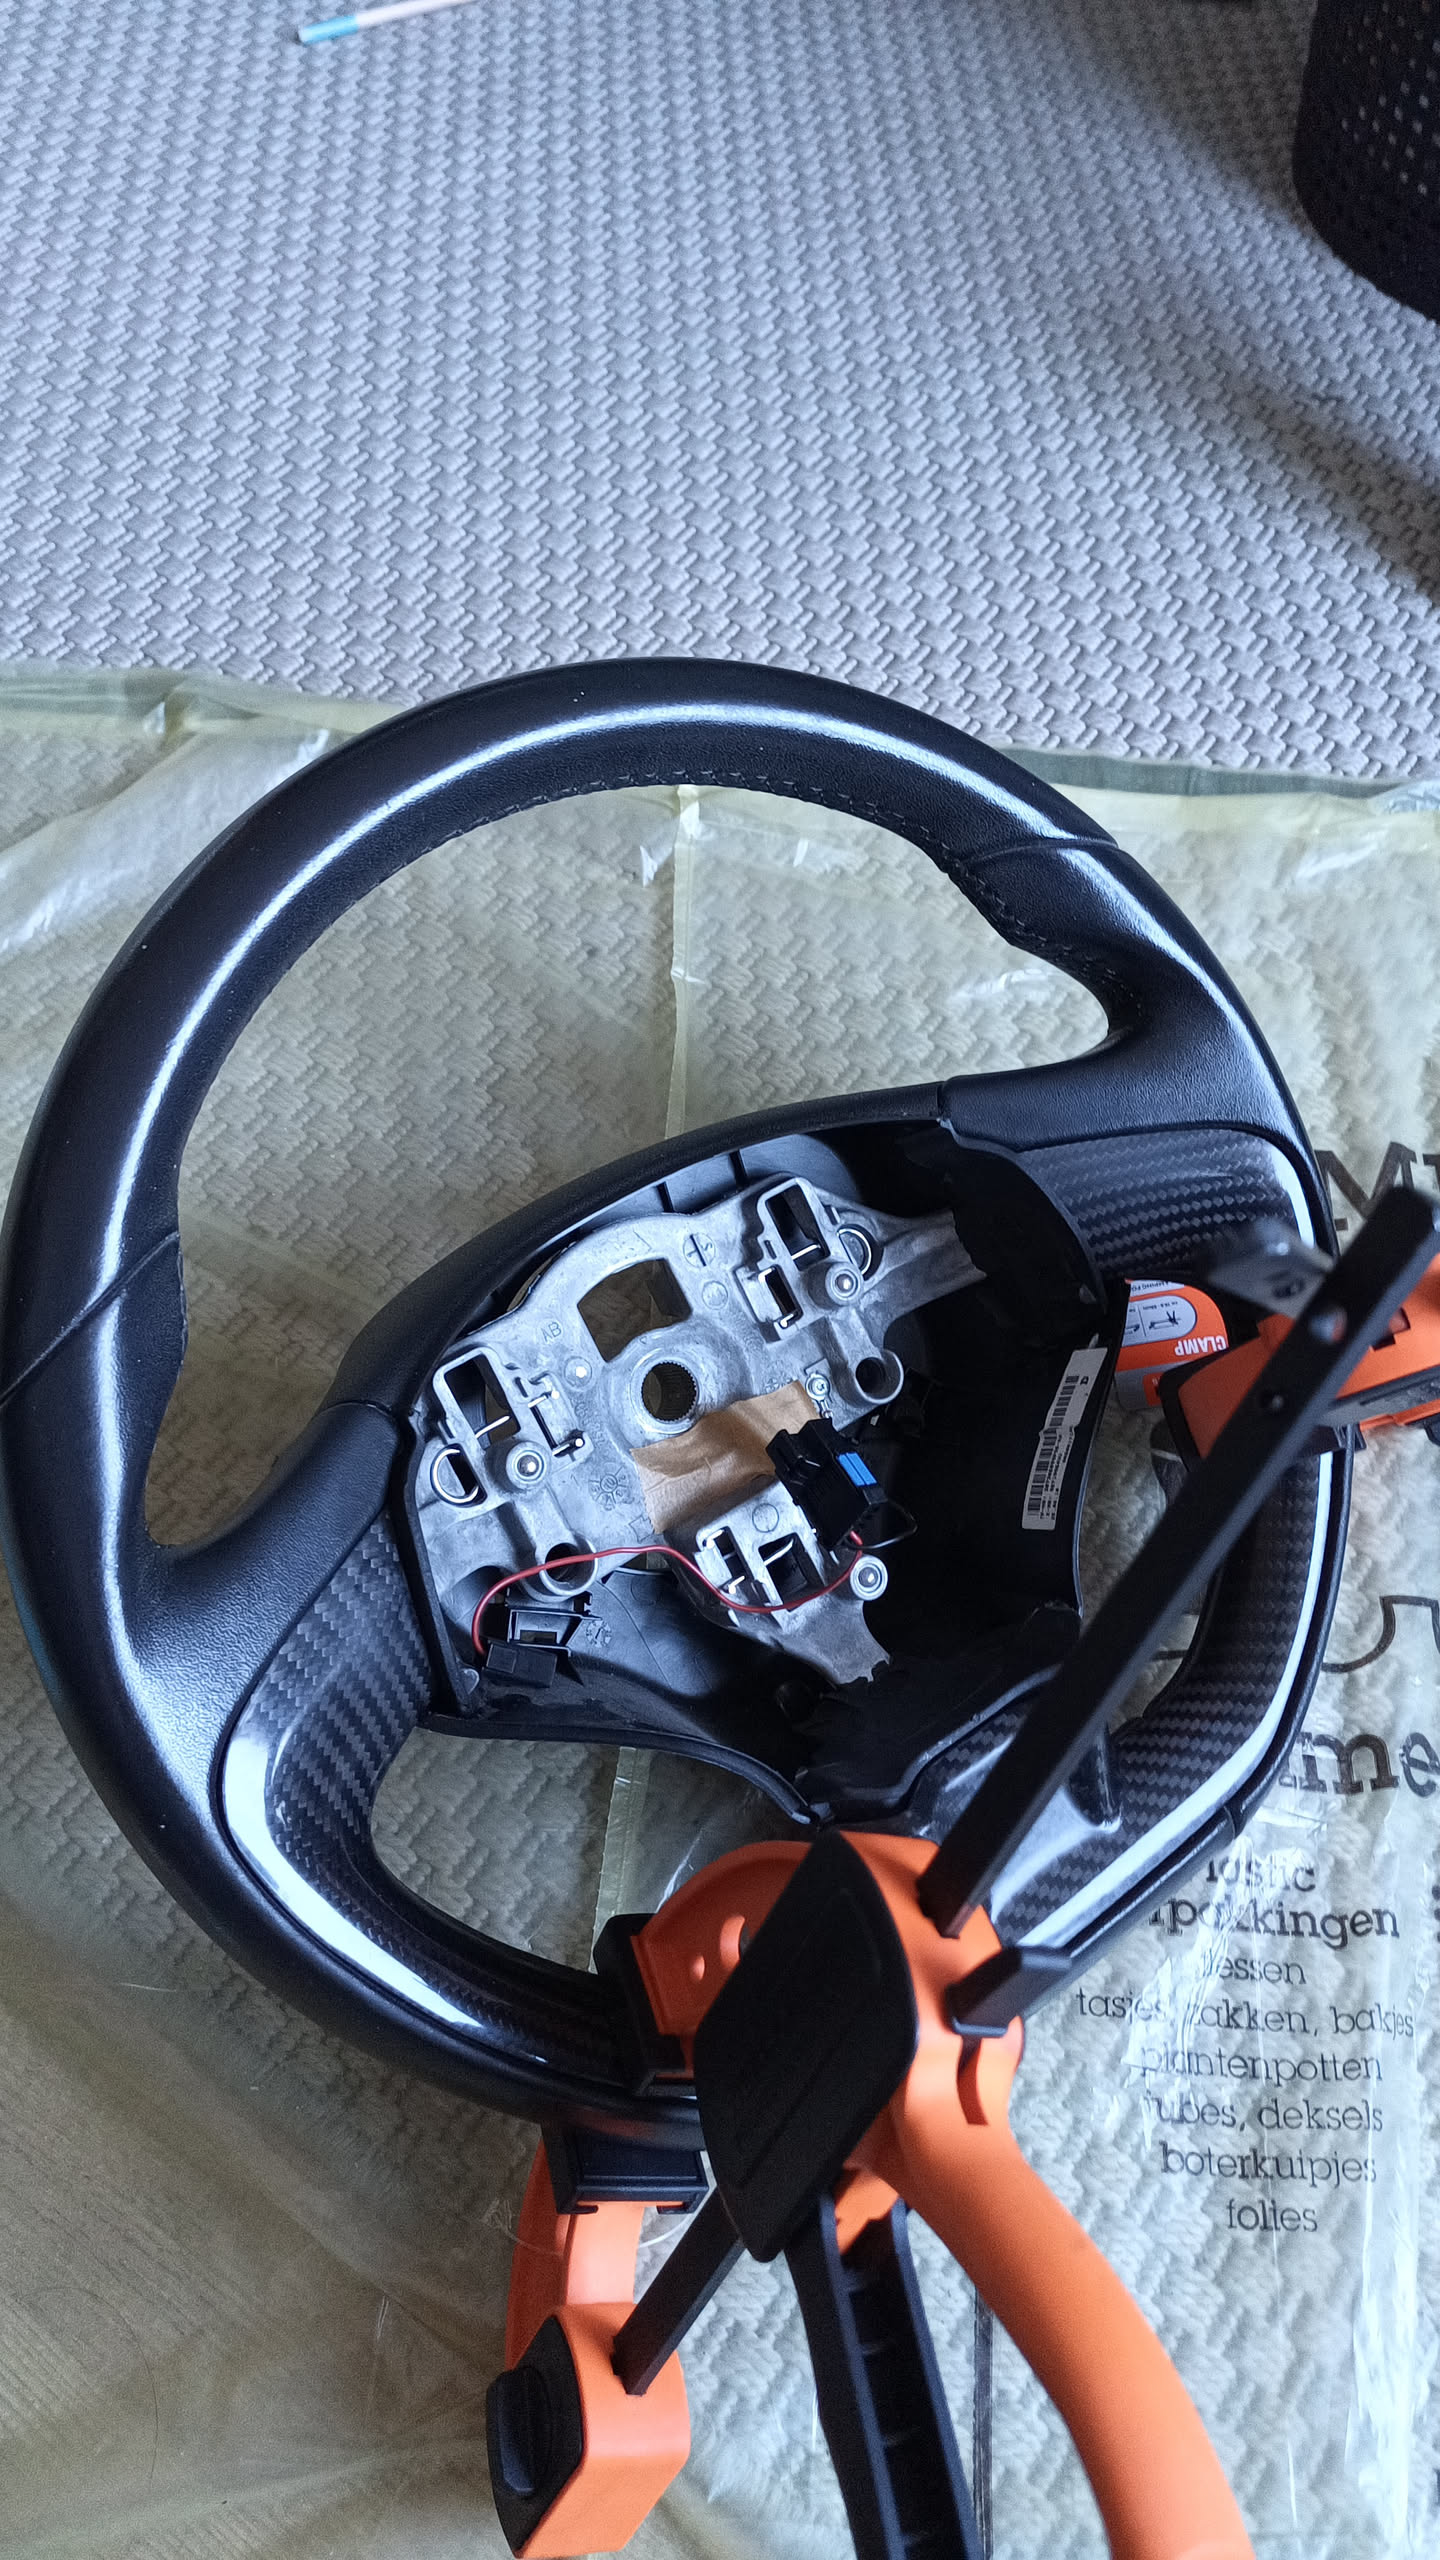
The trim is held in place with these plastic clips, and the part that they clip into is a piece of rubber that extends the whole bottom part of the steering wheel. To remove it, just use a long flathead screwdriver to just push the inset out of the clips. You have to use quite a lot of force and because it's rubber the clips don't really click out of it, they just slide out eventually.
 (1)_preview.jpeg)
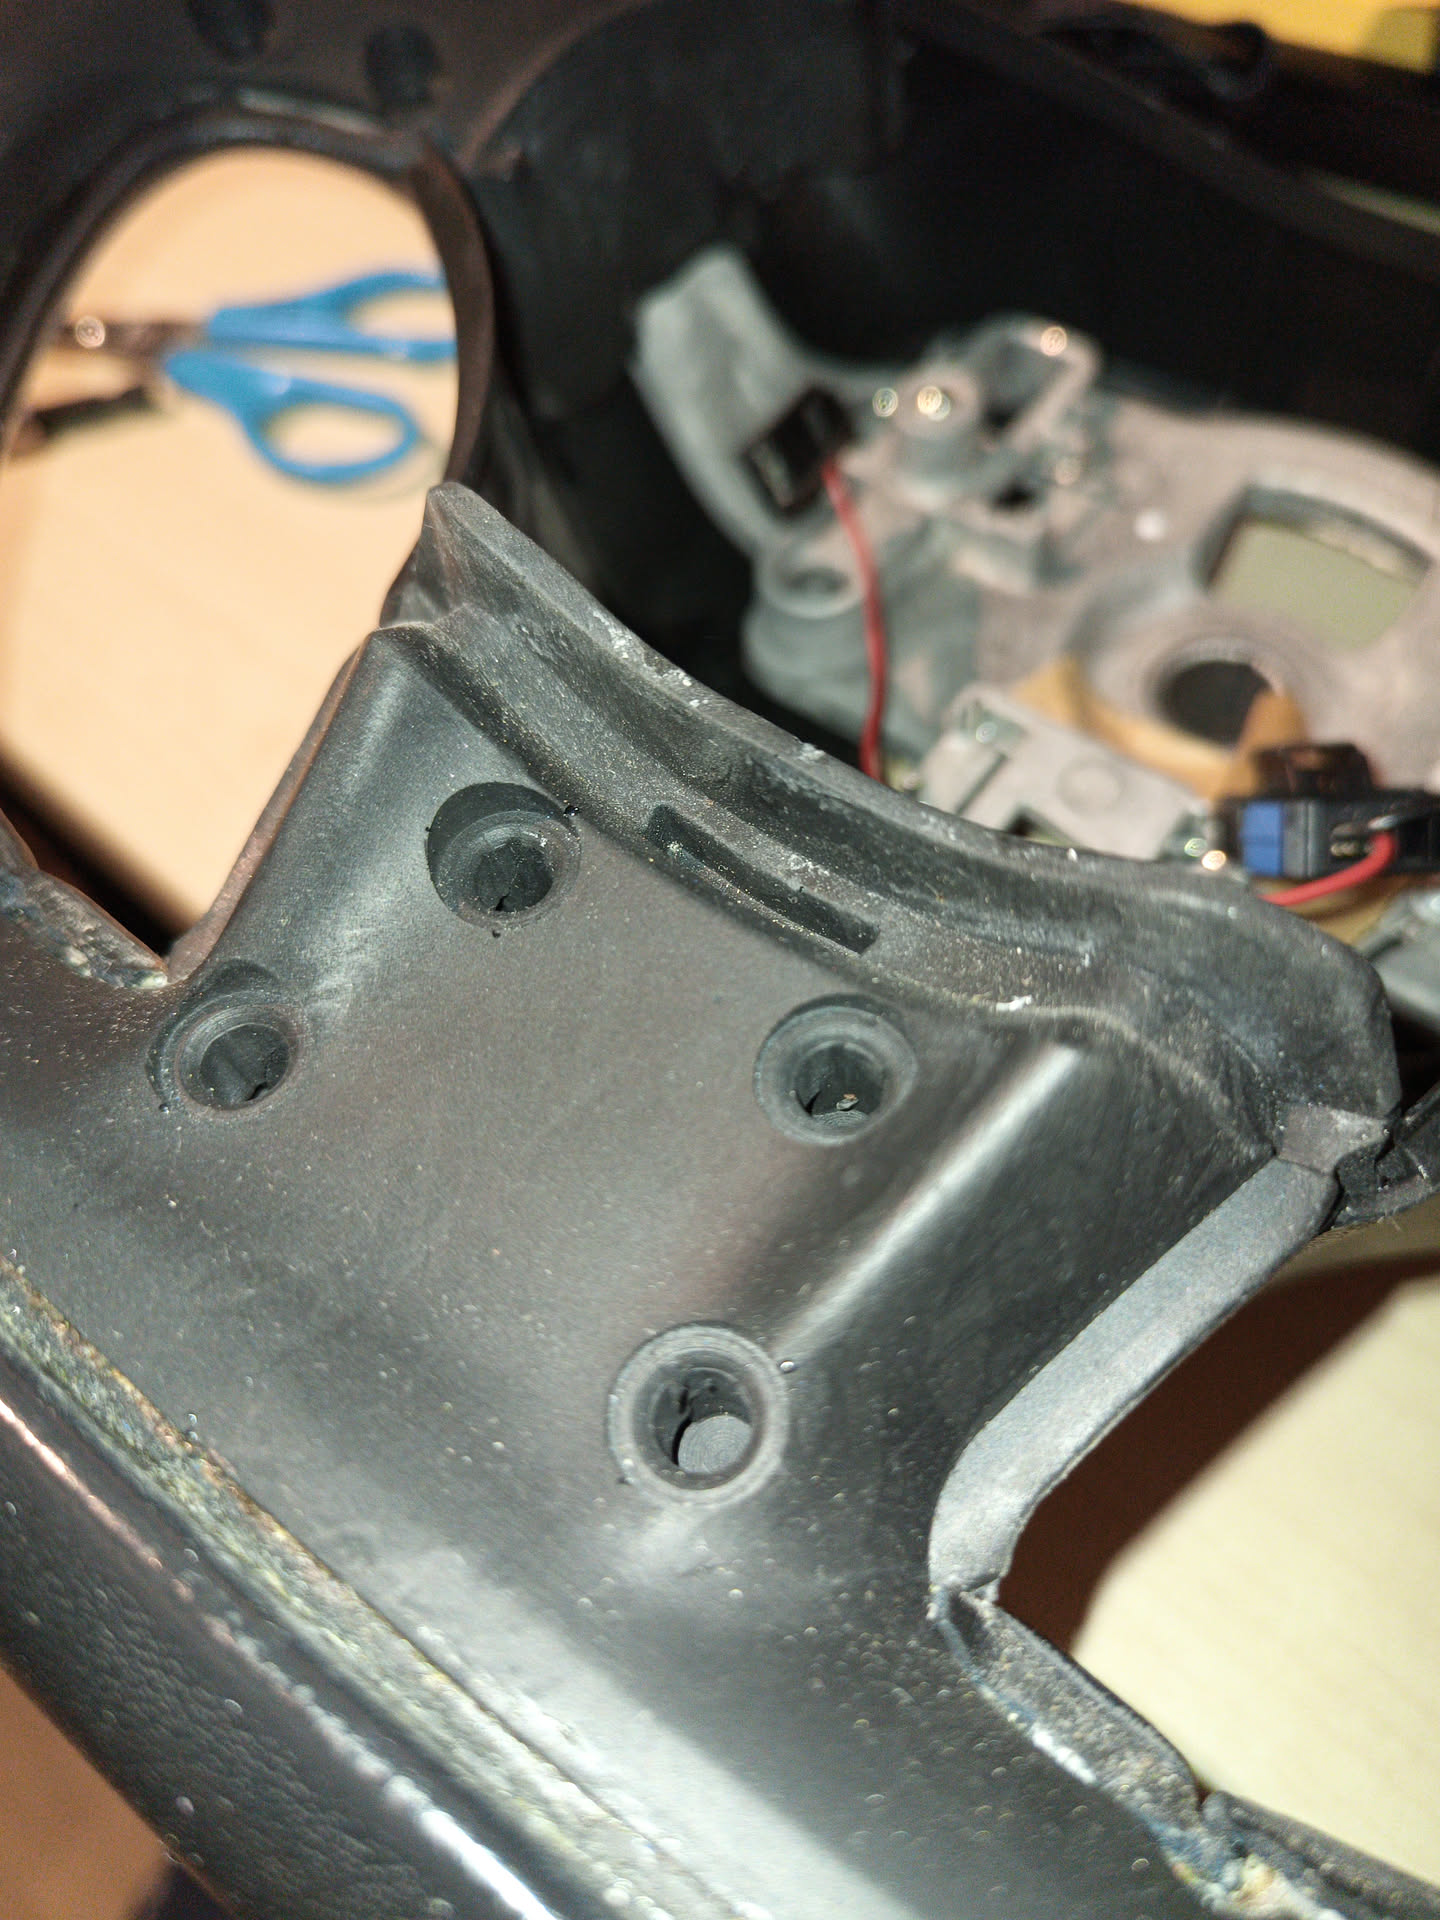
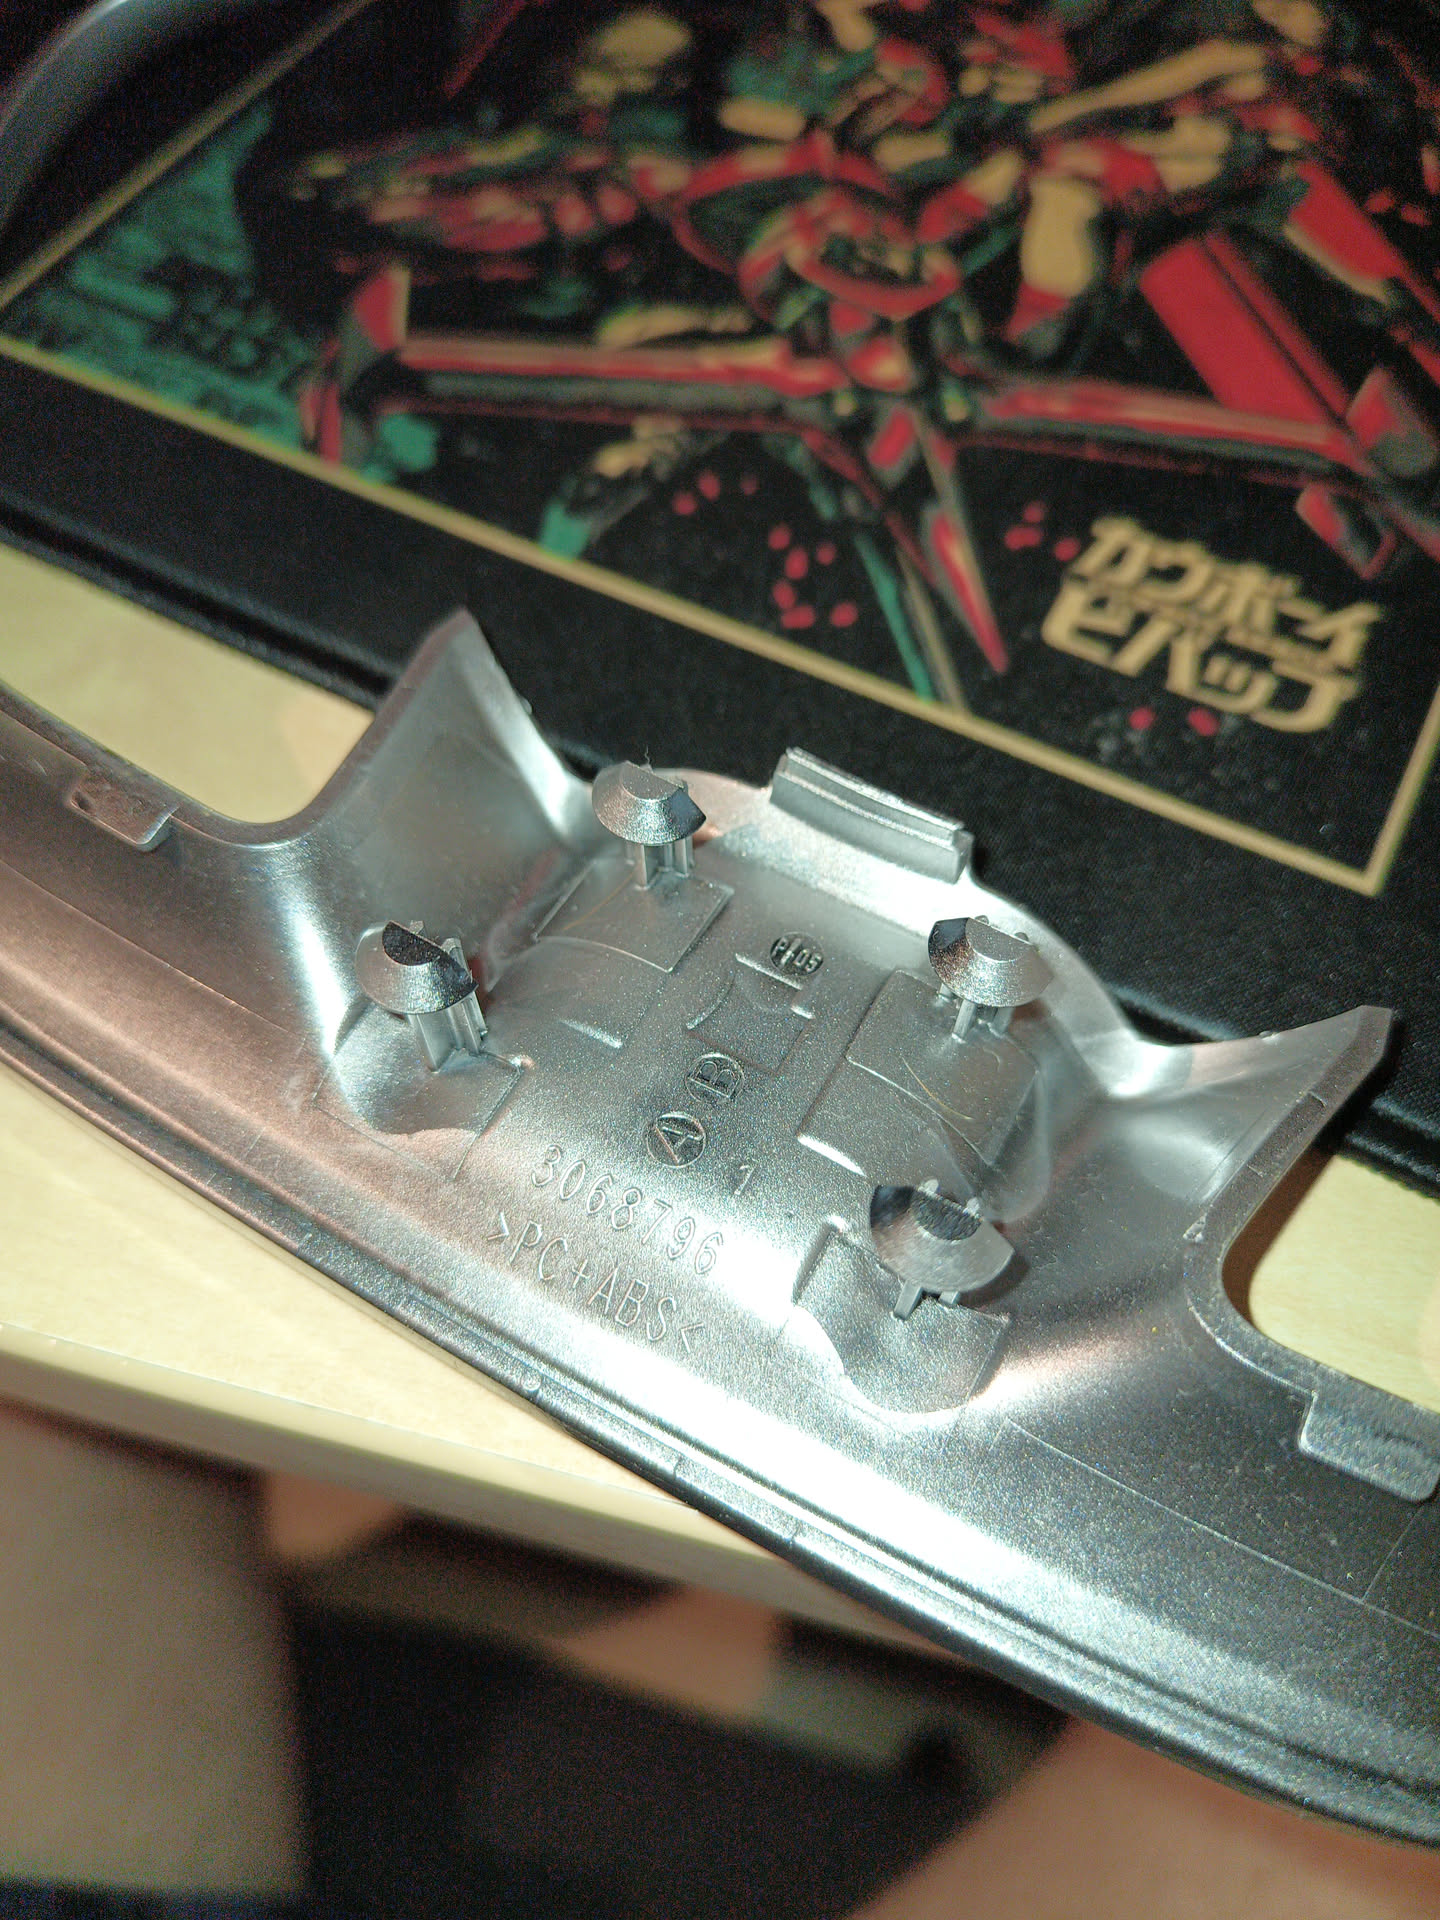
After removing the plastic trim on the wheel of my old DS3, it was time for the carbon trim. After seeing the clips on the plastic trim, I wondered "how would they have made those clips from carbon fiber?". I removed the steering wheel and got to work. However, this trim gave much more resistance than the plastic trim, and I couldn't see any clips on the sides. I figured that maybe they'd glued the piece down instead of using clips, so I heated one part of the trim with a heat gun for a minute and started prying again. It was good that I wasn't going to reuse the wheel this trim is from, because the leather sustained quite some damage during this process. I eventually managed to get it off after a process of treating it with the heat gun and pushing it up with a flathead screwdriver. Lo and behold, the piece is not even glued down, but caulked down:
_preview.jpeg)
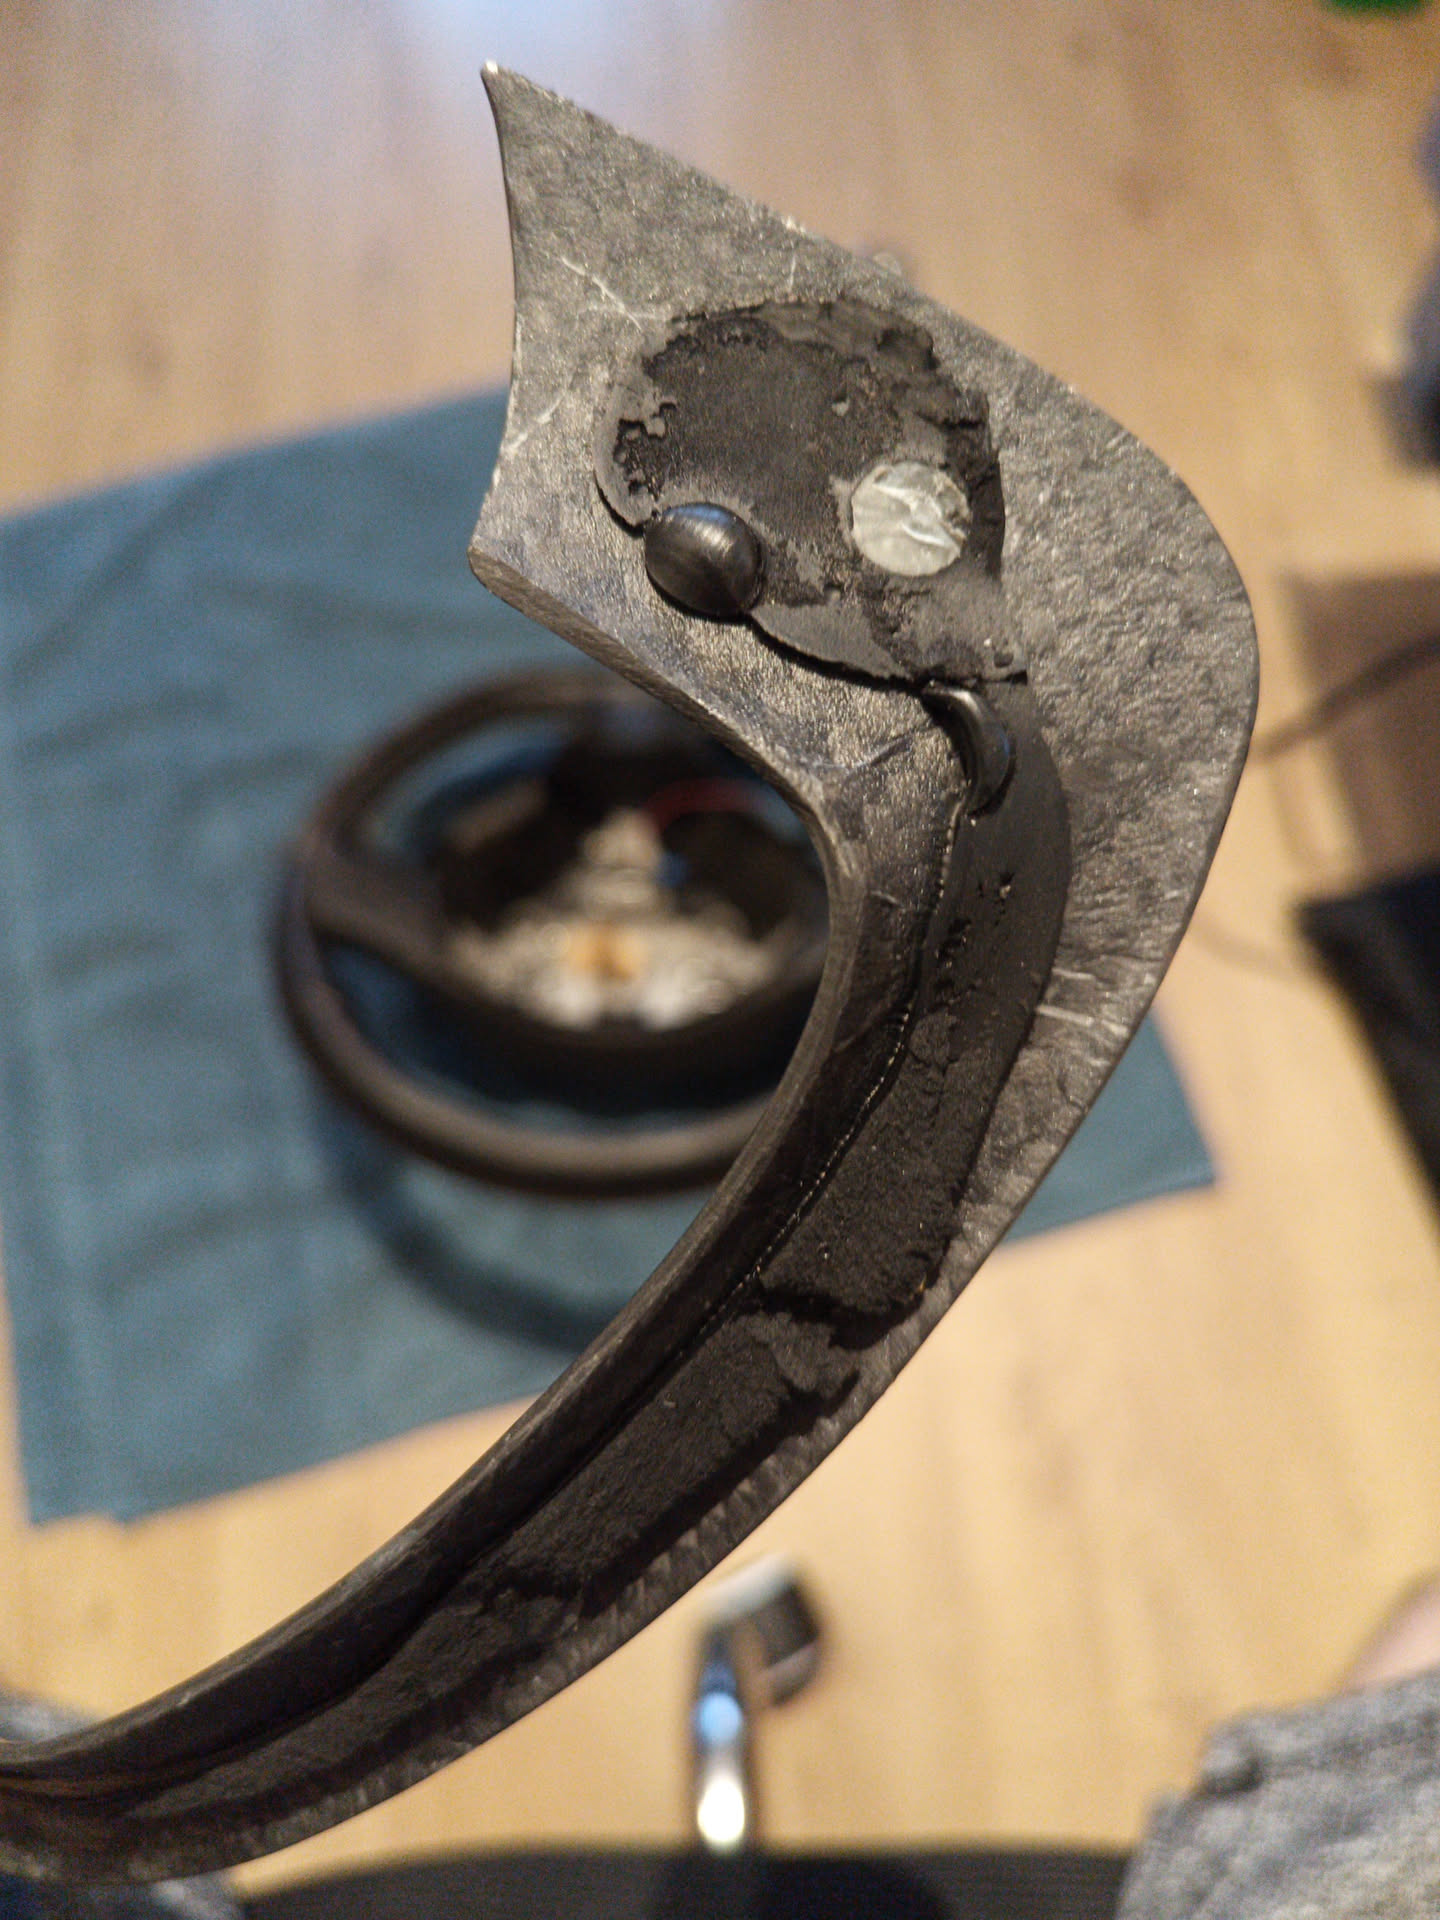
Removing the piece from the wheel was quite the challenge, but the greater challenge was to remove the caulk from the inset piece. I tried heating it, putting it in the freezer and cutting it away with a knife, but that all didn't really work. In the end I ordered this dremel set from amazon, and just removed it using that. It took quite some work and made a pretty big mess, but I managed to get everything off in the end :)
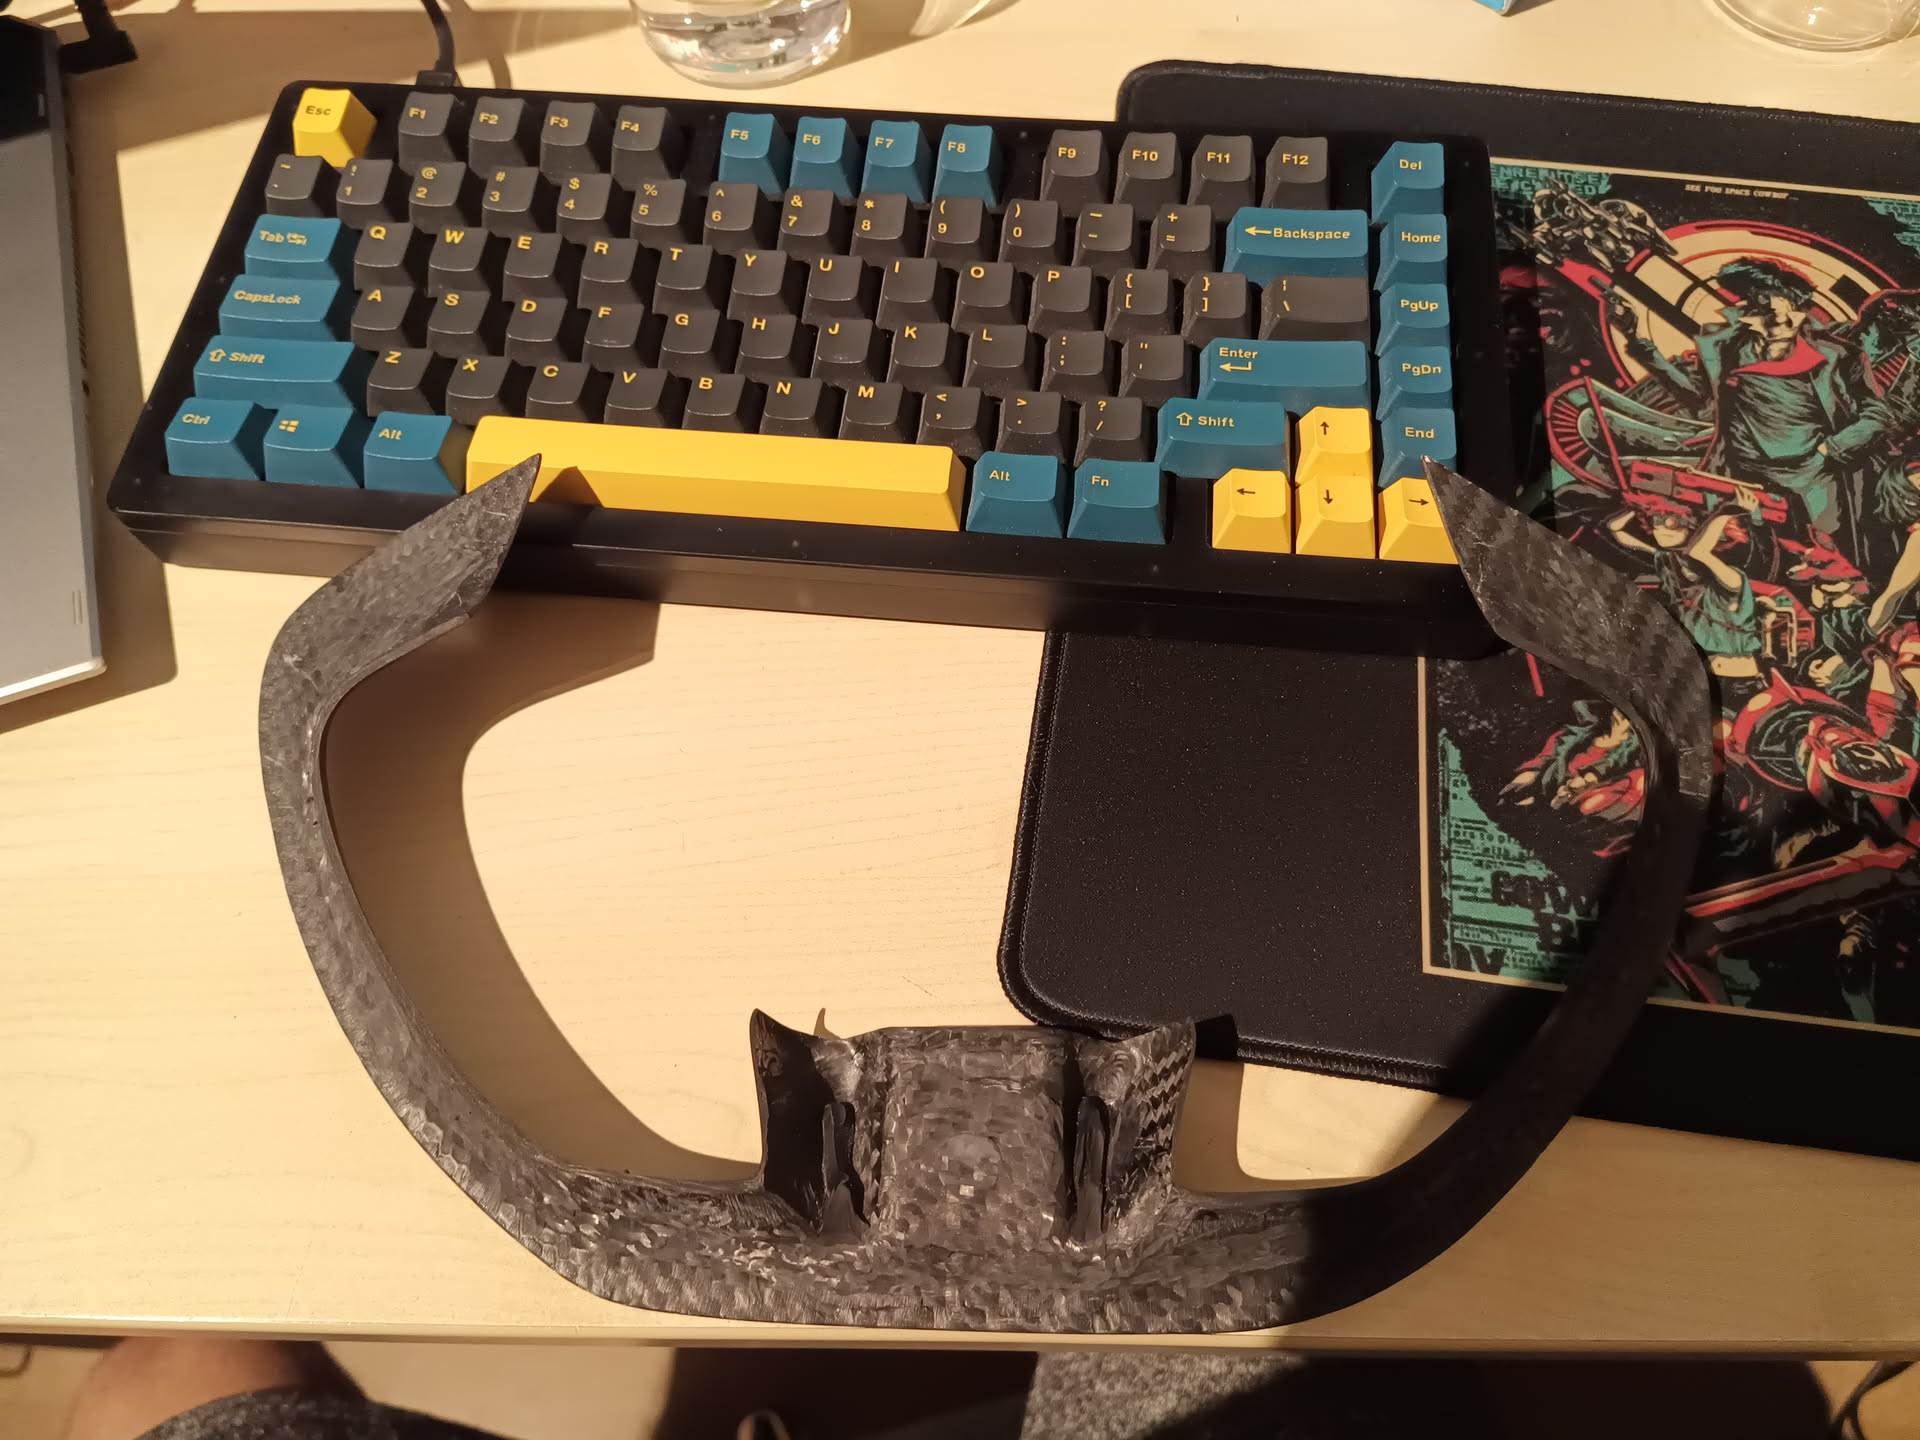
Now the only thing left was to glue it back on. I wanted to make sure the inset piece was secured properly, to prevent it from detaching when for example the airbags deploy. For the glue I used this super epoxy. It hardens completely in 5 minutes after you mix the two compounds, so I had to be fast. I used a little brush to apply it onto the inset piece and glue it to the wheel. The end result looks like new!
